
Despite its durability and striking appearance, hardwood flooring suffers from inevitable wear and tear over time. After about 20 years, this flooring material may start showing signs of aging. Due to factors like accidental damage, prolonged exposure to the sun, or a large amount of foot traffic, once an elegant hardwood flooring is starting to lose its luster. Extensive scratches, moisture damage, and discoloration–these are among the most common warning signs that your hardwood flooring is in dire need of care and attention. Fortunately, there is still a way to fix these issues. Sanding and refinishing hardwood floors can bring your flooring back to life. Instead of hiding them with a carpet, you can protect your hardwood floors for many more years through refinishing.

In this guide, we will provide everything you need to know about refinishing hardwood floors, and why it is so important to do it now.
Why should you hire a professional hardwood floor refinisher?
Refinishing hardwood floors may seem like a more economical option, but hardwood is labor-intensive and difficult to sand and refinish. Simply put, it needs expertise. While many homeowners have tried sanding or refinishing their floors, professional floor refinishers strongly suggest not to do it yourselves. It may probably sound self-serving, but you cannot really get a professional-quality outcome using a rented 110-volt sander. You will also need to use a lot of tools so you may end up not saving money at all. Plus, the reality that you may eventually screw it up along the way is really possible. You may buff it unevenly, use excessive finishing, or sand it incorrectly. Anything can happen if you don’t have the required expertise in refinishing hardwood floors. Even the slightest blunder can destroy your finish, so you will end up starting all over again and spend more money instead.
With this, you may want to consider hiring a professional floor refinisher. Choose a contractor who specializes in refinishing hardwood floors. Ask for references from friends or colleagues. Do your own research in finding the right contractor for your home. Narrow down your options and get at least three competitive bids from contractors. This way, the probability of hiring the best one is much higher.
How much does it cost to refinish hardwood floors?
Assuming that you are not refinishing hardwood floors yourself and you hire a professional floor refinisher, the average cost ranges from $3 to $8 per square foot. However, prices may vary considerably. There are a few factors that can add up a little to that price tag. The quality of refinishing product, the size or complexity of the job, wood types, and the number and type of coats needed—these are some factors that would affect its price tag. This cost does not include any additional services like repairs or even removal of furniture on the project site. We recommend that you record the size of your floor in square footage, the product you want to use, and the type of finish you prefer. By doing so, it makes it easier to negotiate with a flooring contract and deal about the price.
What is the typical project length in refinishing hardwood floors?
To refinish hardwood flooring, allow approximately three to seven days. However, the project length varies depending on the complexity and size of the project. Consider that there might be possible mishaps along the way, but with the help of a professional flooring refinisher, it can be reduced or prevented.
What is the best time to refinish hardwood flooring?
Refinishing hardwood floors can be done anytime. However, if you are planning to place your furniture outside during a refinishing project, then you may want to avoid the rainy season.
Is it required to obtain a permit when refinishing hardwood flooring?
Good news! You are not required to obtain a permit to refinish your wood flooring. This means you can just schedule a flooring refinisher near you and start the project right away.
What types of hardwood floor finishes should I apply?

Whether your hardwood flooring is warm cherry wood, rustic oak, or rich walnut, they all need one thing: a protective finish to keep them looking fresh and elegant. In refinishing hardwood floors, you must choose the right coating for your flooring. While hardwood floor finishes have varying levels of durability, ease, and glossiness, we have outlined the most popular hardwood floor finishes available in the market today.
Aluminum Oxide
A naturally occurring mineral, aluminum oxide has exceptionally long-lasting protection on wood flooring. It is a perfect choice for high foot traffic areas or any rooms in your home that need protection from wear. It provides supreme protection from fading, water damage, scratches, and general wear without affecting the color and grain of the wood. This makes aluminum oxide a low maintenance refinishing option for your hardwood floors. However, this type of finish is only available on prefinished wood planks. Hence, it is not for DIYers. Also, it is so difficult to touch up or remove if you decide to change it to a different type of finish. In this case, you need to ask for help from a professional floor refinisher.
Water-Based Polyurethane
If your hardwood flooring needs a clear finish that will dry up quickly, water-based polyurethane is a great choice. It is easy to apply and clean up. Plus, it has a smooth, shiny finish. Made with plasticizers and synthetic resins, water-based polyurethane resists moisture and is very tough. This hardwood finish emits low VOCs or volatile organic compounds and less odor. You can also guarantee that it won’t turn yellow over time.
The downside of water-based polyurethane, however, is that it magnifies every scrape and scratch on the floor, making it look unsightly to the eyes. When it comes to application, you will typically need to wait for about two to four hours in between coats. Within a few hours, you will be able to walk on your hardwood floor, although it takes at least 48 hours to move all your furniture back to its original place.
Oil-Based Polyurethane
Made from a combination of synthetic resins, linseed oil, and plasticizers, oil-based polyurethane is known for its durability and strength. It is hard-wearing, meaning you don’t need to have the floor refinish as often as compared to other wood floor finishes. This makes it a great option for high traffic areas and commercial establishments. It also resists moisture and is quite easy to maintain. Not to mention that it is not too expensive as compared to other finishing options.
However, oil-based polyurethane has drawbacks as well. It has a slightly amber to yellowish shade and can even become more yellow over the years, which may not be appealing to some. It releases a lot of VOCs and is flammable. In applying oil-based polyurethane to your hardwood floor, you must have a respirator or mask to protect you from inhaling fumes. Unlike its water-based counterparts, this hardwood floor finish takes longer to dry. You need to wait for 8 to 10 hours for each coating and it takes at least 48 hours before you can even walk on your hardwood floor.
Shellac
Created from a combination of denatured alcohol and lac bug secretion, shellac has been a choice in refinishing hardwood floors for many years. It is a good choice for homeowners who want a natural appealing finish that dries up quickly and won’t release high levels of VOCs. It is an all-natural, sustainable wood finishing option. Though shellac dries up quickly, it is difficult to apply evenly as it may leave noticeable lap lines. It is not recommended to use shellac in high traffic areas, as it cannot hold up so well in foot traffic.
Penetrating Oil Sealer
Penetrating oil sealers are a perfect choice for homeowners who love to see the natural lovely appearance and depth of their hardwood floors. It typically brings a low-shine finish to highlight the texture and grain of the hardwood. However, penetrating oil sealer is not durable and won’t hold up well in high foot traffic. It is a bit expensive and requires a lot of recoating every three to five years. When applying this wood floor finish, you may need to wait an entire day between coating, making it a bad choice for DIYers.
Wax
Most frequently picked by DIYers and a popular choice for historic homes, the wax provides a low-sheen, natural finish. It is available in paste and liquid forms, making it easier to apply and even touch up. When applied, it penetrates the wood and dries up quickly. If you are going green, this is also a good choice as it emits little VOCs or odor. However, the downside of wax is that it is not a durable finishing option. Exposure to moisture or water could lead to white marks showing on the floor. Wax also turned yellow or dark over time. Not to mention that it is labor-intensive to apply.
Acid-Cured Finish
Also called conversion finish or Swedish finish, the acid-cured finish is an alcohol-based wood finish that uses acid to dry or cure. It is a great choice for exotic wood species as it brings out a shiny finish to the wood flooring. The acid-cured finish is an incredible option in refinishing hardwood floors because it is exceptionally durable and has resistance to scuffs, damages, and scratches. It also dries up very quickly.
While the acid-cured finish is very resilient and tough, it releases an extremely high level of VOCs. It emits a strong odor, so you need to stay away for several days while the hardwood floor is being cured. This also means that excellent ventilation and respirator are needed when refinishing your floor.
Moisture-Cure Urethane
As the name implies, moisture-cure urethane pulls moisture from the air to dry or cure. This means that the application of this type of floor finish is affected by humidity in the air. If the air is dry, the finish won’t dry or cure evenly. If the air is too humid, the finish starts to cure and spread evenly. Applying moisture-cure urethane requires a lot of skill and expertise, so it is not typically recommended to DIYers.
The good side of moisture-cure urethane is that it is an extremely durable floor finish. It can resist moisture, stains, and scratches. However, it emits a high level of VOCs, which may stay in the air for weeks. This is the reason why homeowners should relocate for two weeks after this hardwood floor finish is applied.
What is the step-by-step process in refinishing hardwood floors?
Refinishing hardwood floors is no easy feat. However, knowing the do’s and don’ts can make it less challenging. Whether it be a DIY project, or you hire a professional floor finisher to do the job, it pays to know the step-by-step process of refinishing your hardwood flooring.
Assess the Floor
Before even planning to refinish a hardwood floor, make sure that you know the wood type you are dealing with. Genuine hardwoods like maple and oak are relatively easy to refinish. On the other hand, it is more difficult to refinish wood flooring made from pine. Engineered wood flooring, however, is less likely recommended for refinishing because the veneer will come off when sanded. For a thorough evaluation, you can always ask a professional flooring refinisher near you.
Prepare the Room
A fair amount of preparation is needed to guarantee that things will go smoothly as planned. First, you must clear the project area or room of everything you can. Get all the furniture out to give yourself or a floor refinisher a room to work on. Expose the entire floor, meaning the room that you will be working on should be free of all objects, even curtains.
Part of preparing the room is completely covering any doors that may lead in or out of the area you will be working on. However, make sure that you should know how to cleanly exit once the refinishing has been completed. Don’t forget to tape all outlets, cracks, and gaps under doorways as dust may sneak out on these areas. You must isolate the room as this can get messy once the project starts. Prepare all required tools, equipment, safety items, and products as well.
Start Sanding

Once all is set, you can now start to sand the floor. You will typically sand the hardwood flooring three times. First with coarse-grit sandpaper, then the medium grit, and lastly, the finer grit. Never forget to wear a respiratory mask while sanding as the entire process raises a lot of debris and dust. Ensure that the floor is level because warped or wavy hardwood flooring will require a different kind of sanding methods. Always remember to sand the hardwood floor uniformly and properly.
For your first sanding pass, your main goal is to remove the existing finish. Use a drum sander, then work along the edges of the room using an edge sander. As with the second sanding pass, the goal is to get rid of the remaining finish and any scratches made during the first sanding pass. You may use an 80-grit sanding paper or even finer, then do it again with edges. The floor should appear like new wood after your second sanding pass. In your third and final sanding pass, a 100-grit sanding screen can be used on a buffer to ensure that any remaining blemishes and scratches are even out. Work back and forth and do not leave any marks. A random-orbital sander may also be used to buff the edges.
It is important that you clean the room in between each sanding as it can keep the level of dust lower in the room. You can use a vacuum cleaner after finishing each layer of the sanding process. Once you have completed three layers of sanding, clean the entire floor using a damp mop to pick up all the residual dust and debris. A thorough cleaning guarantees that no dust or debris is trapped once you begin refinishing. You can clean the entire room using a water-vinegar solution. Wipe a clean damp rag on your floor to make sure that the room is completely clean.
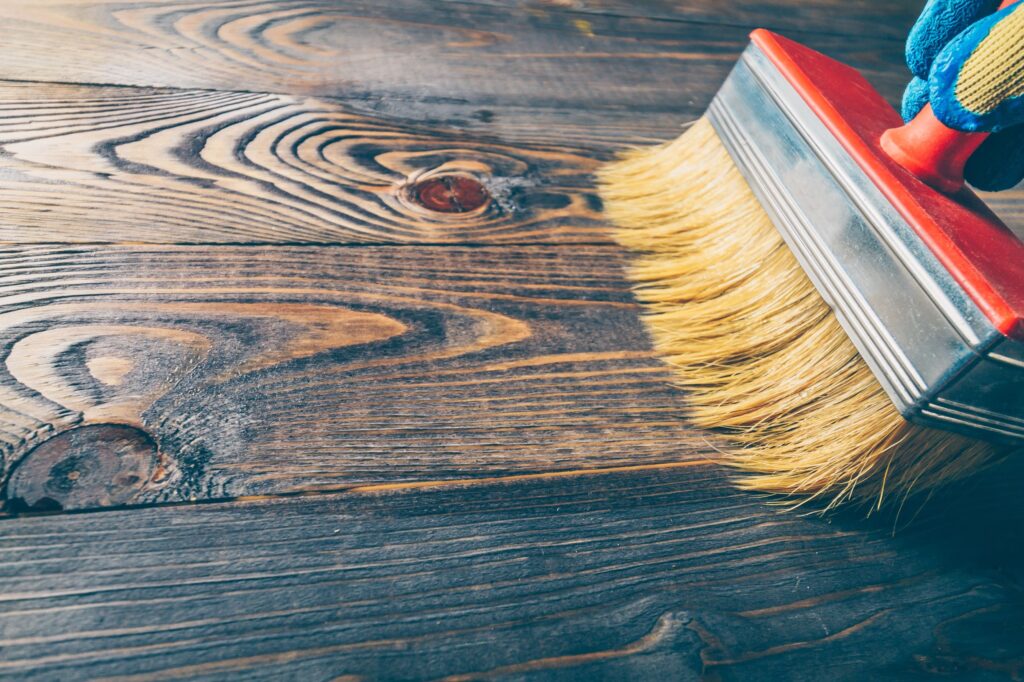
Stain and Seal
If you want to stain your floor before sealing, then do it at this stage. Staining is an optional procedure. Just make sure to select and use a conditioner before the application of a new stain. Once you brush on the stain, let it dry completely before refinishing hardwood floors. If you are not staining, you can put a sanding sealer on the hardwood floor instead. Let it dry before you can continue to the next process.
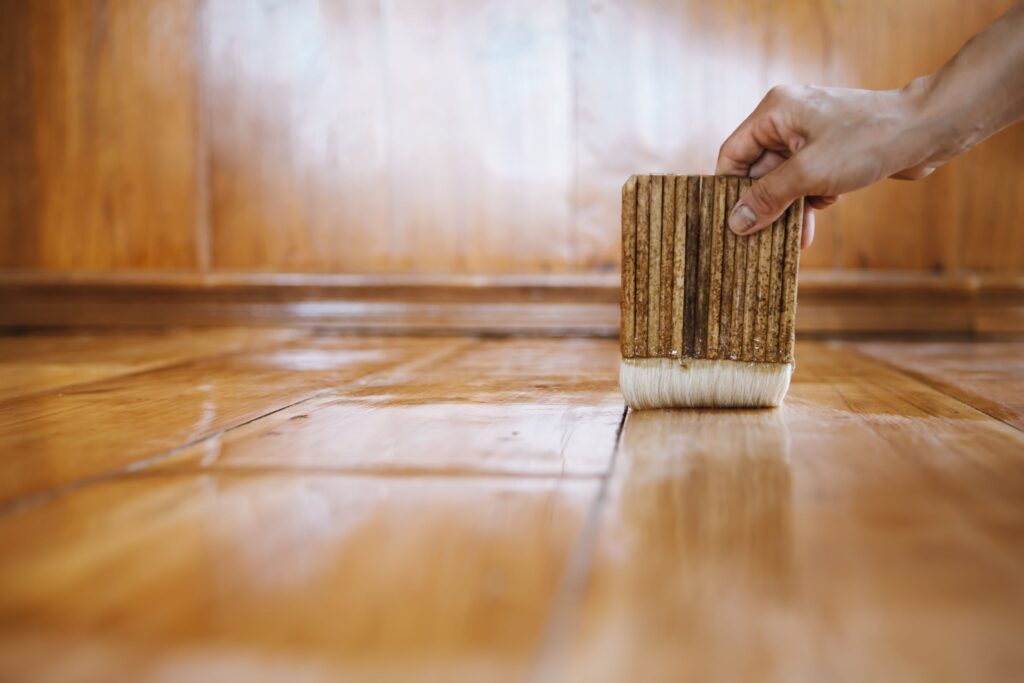
Apply the Finish
Once you have already chosen the hardwood finish you like for your floor (refer to the list above), now is the time to start refinishing your hardwood. Use smaller brushes in applying wood finish around all corners or edges of the room. Start to finish as far away from the door. You may begin in 5-foot swaths, then keep moving. Use the roller to refinish the bulk of the floor. Once done, let the wood finish dry for 24 hours or depending on the type of finish you applied. Make sure to check the floor before applying a second coat. Remove all the dust using a dust mop before the second coating.
After the first coating has completely dried up, apply another coat of wood finish. Recoating a hardwood floor will make it more decent and appealing.
Do you need help with refinishing hardwood floors in your home?
We hope that this guide will help you understand what it requires you to refinish your hardwood flooring. If you notice any signs that your wood flooring needs a little upgrade, you can contact us today and schedule a consultation.